> ## Documentation Index
> Fetch the complete documentation index at: https://bunnynet-cb9733c2-database-cli-docs.mintlify.site/llms.txt
> Use this file to discover all available pages before exploring further.
# Enable Bunny Shield
> Turn on Bunny Shield in the bunny.net WordPress plugin to protect your site with WAF and DDoS mitigation.
**Bunny Shield** protects your site from attacks, malicious traffic, and service disruption using a built-in Web Application Firewall (WAF) and DDoS mitigation.
Shield requires Bunny DNS with CDN Acceleration enabled. If you haven't set this up yet, follow [Enable Bunny DNS and CDN Acceleration](/integrations/wordpress/dns) first.
## Enable Bunny Shield
In your WordPress Admin Panel, navigate to **bunny.net → Shield**. If DNS and CDN Acceleration are not yet configured, the Shield tab prompts you to enable them first. The **Enable Bunny DNS** button takes you through the same setup covered in [Enable Bunny DNS and CDN Acceleration](/integrations/wordpress/dns).
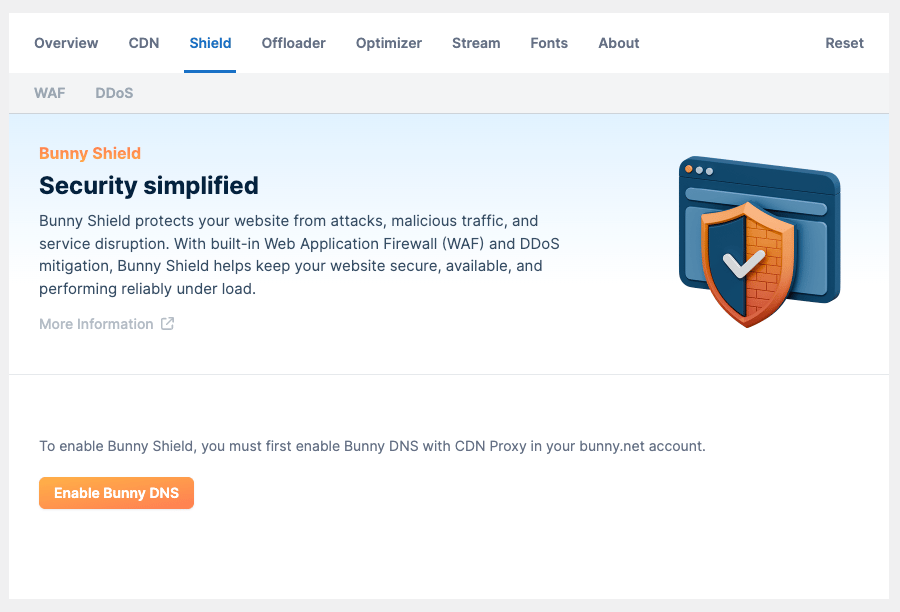 Once acceleration is active, the Shield tab exposes **WAF** and **DDoS** settings, which you can configure to protect your site.